Growing herbs at home is easy with our tips on plant selection, potting, fertilizing, and pruning. Discover how to start your own herb garden!
Imagine your pizza without oregano or your spaghetti Bolognese missing that basil kick.
Herbs are like secret ingredients that elevate all your favorite recipes. Instead of running to the store whenever you find an empty envelope, you can grow herbs at home and always have a fresh supply.
You might be thinking, “But I don’t have a green thumb!” Don’t worry; growing herbs is easier than you think.
10 Steps to Grow Herbs at Home
The Beginning of your herb-growing adventure starts with one simple step: choosing your herbs.
1. Choose Your Herbs
Consider these factors when deciding which herbs you’ll grow:
- Taste: Each herb brings a unique flavor, and having your favorites on hand will inspire you to experiment in the kitchen. Do you like Italian cuisine? Choose basil and oregano. Love soups and stews? Rosemary and thyme are your must-haves.
- Space: If your space is limited, compact herbs like chives or parsley are perfect. Got a sunny spot and room to spread out? Go for mint and lemon balm!
- Care: Will your herb garden be on a sunny windowsill, a balcony, or a garden bed? Some herbs are sun-lovers, while others prefer shade.
- Time and experience: Some herbs are hardy and can handle a bit of neglect, while others need more care and attention. If you’re new to gardening, start with forgiving herbs like mint or oregano. Expand your repertoire and experiment with more herbs as you get more comfortable.
2. Select the Right Spot
Herbs love the sun, so you’ll want to find a spot that gets plenty of it, ideally around 6 to 8 hours of direct sunlight per day. A south-facing window is excellent for indoor gardens, while a sunny spot in your yard can be perfect for outdoor plantings.
Protect them from winds and heavy rain, which can damage delicate leaves and stems. If you’re planting outdoors, a place near a wall or fence can provide shelter while giving your herbs the sunlight they crave. For balconies, an ideal spot would be one that receives sun but isn’t too exposed to the elements.
You’ll be more likely to snip and use your herbs if they’re easily accessible. Plant them near your kitchen or along a path you frequently walk. That way, you can quickly grab a handful of fresh herbs whenever cooking.
3. Prepare Your Containers
When it comes to containers, you’ll have a lot of choices:
- Size: Ensure the container is spacious enough for your herb to grow. Most herbs need at least a 6-inch pot, but some, like rosemary, prefer more room to stretch their roots.
- Drainage: Herbs don’t like soggy feet, so your containers must have holes at the bottom. If your pot doesn’t have drainage holes, make some (be gentle!) or place pebbles at the bottom to help with water flow.
- Material: Terracotta pots are great because they allow soil to breathe and help prevent overwatering. However, they can dry out quickly, so if you’re forgetful with watering, opt for plastic or glazed pots that retain moisture longer.
- Aesthetics: Your herb containers are part of your home décor, so choose something that complements your style. Whether sleek and modern or charmingly rustic, your pots can add a touch of personality to your space.
4. Use Quality Soil
Choose a quality potting mix (and that’s not your backyard dirt). The potting mix is specially formulated to provide the right balance of aeration, nutrients, and drainage.
Your soil should be well-draining. If you’re unsure, you can always mix in some perlite or sand for better drainage. You’ll keep the roots healthy and prevent water from pooling at the bottom of your container.
While herbs aren’t demanding, they still appreciate nutrient-rich soil. Some potting mixes come with added compost or fertilizer, which can give your herbs a great start. If not, consider mixing in a bit of compost or organic matter. You’ll provide a slow release of nutrients.
The soil may settle over time. Monitor it and top it up if needed so your herbs have enough soil to support their growth and aren’t left hanging in their pots.
5. Plant Your Herbs
If you’re starting with young plants or seedlings, gently remove them from their current container. Be careful with the roots – they’re as delicate as fine lace. If the roots are tightly bound in a root ball, loosen them gently to spread them out and take in more nutrients and water in their new home.
Fill your chosen container with the prepared soil, leaving enough space to nestle your herb comfortably. The top of the root ball should be level with the soil surface. This gives your herb enough room to breathe and grow without being too exposed or too buried.
Place your herb in the hole and fill around it with soil, gently pressing down to remove any big air pockets. You want to give your plant a firm foundation, but don’t pack the soil too tightly – think of it as tucking your herb into bed, snug but not squished.
After planting, water your herbs. Watering helps settle down the soil over the roots and gives your plant a much-needed hydration boost after the move. Water gently and evenly, ensuring the soil is moist but not waterlogged.
If you’re planting multiple herbs in one container or garden bed, give them room to grow. They’ll need space to spread their leaves and roots, so don’t crowd them too close together.
6. Water Regularly
“Water regularly” doesn’t mean “constantly.” Herbs like their soil moist but don’t like sitting in water. Over-watering is one of the quickest ways to harm your herbs.
So, how do you know when to water? The best trick is the finger test.
Stick your finger into the soil up to your first knuckle. If it’s dry, it’s time to water; if it’s still moist, you can wait. This simple test is way better than sticking to a strict schedule because it adjusts for changes in weather and the needs of your specific herbs. The alternative to the finger test is the soil moisture meter, which shows the amount of water in the soil.
When watering, make sure to hydrate the entire root. Water until you see it start to drain out of the bottom of the pot.
Here is a list of suggested watering for our top 10 herbs:
| Herb | Watering frequency |
| Parsley | Keep soil consistently moist. Water every 1-2 days in hot weather. |
| Basil | Likes moist soil. Water every other day or when the top inch of soil feels dry. |
| Oregano | Allow soil to dry slightly between waterings. About once a week. |
| Rosemary | Let the soil dry out between waterings. Water every 1-2 weeks. |
| Thyme | Prefers slightly dry conditions. Water when soil is dry to the touch, about once a week. |
| Mint | Keep soil moist. Water every 2-3 days. |
| Dill | Likes moist soil but not soggy. Water when the top inch of soil is dry. |
| Chives | Keep soil moderately moist. Water every 3-4 days. |
| Sage | Allow soil to dry between waterings. Water about once a week. |
| Tarragon | Let the top inch of soil dry before you water. Water once a week. |
Note: Remember, these are general guidelines. Pot size, indoor/outdoor conditions, and climate can affect watering needs. The finger test is always reliable for determining if your herbs need water.
7. Ensure Adequate Light
Herbs need about 6 to 8 hours of sunlight daily. A south-facing window is usually the best spot if you’re growing herbs indoors. If your windows don’t get enough natural light, don’t worry – you can supplement with grow lights.
Types of grow lights:
- Fluorescent lights are a popular and economical choice for herbs. They provide a good spectrum of light for plant growth and don’t generate too much heat. T5 and T8 fluorescent tubes are commonly used.
- LED lights are more energy-efficient than fluorescents and last longer. They also emit less heat, making them ideal for small spaces. LED grow lights come in various spectrums, so look for ones that mimic natural sunlight.
- Incandescent lights can be too hot, which might harm your herbs. They’re better used as a supplementary light source than the main one.
Choose a sunny spot for outdoor herb gardens throughout the day. Watch how the sun moves across your garden, and pick a place where the light lingers the longest. But be mindful – some herbs, like basil, might need a bit of shade in the hottest part of the day, so a location with some afternoon shade can be ideal.
Observe and adjust. If your herbs look like they’re stretching towards the light or getting pale, they probably need more sun. If they’re wilting or their leaves are getting scorched, they need more shade.
8. Fertilize Sparingly
Herbs don’t require as much fertilizer as other plants, and overdoing it can lead to lush foliage with diluted flavor.
Use a balanced, water-soluble fertilizer, but dilute it to 1/2 the strength suggested on the packaging. That will give your herbs the nutrients without overpowering them. During the growing season (spring and summer), fertilize once a month. Ease off during the fall and winter when most herbs grow more slowly.
Be extra cautious with rosemary, thyme, and sage, which prefer even leaner conditions. They need even less fertilizer, maybe just a light feeding at the start of their growing season.
Organic options like compost or fish emulsion are great choices, too. They provide a slow, consistent nutrient supply and are good for the environment.
9. Watch for Pests
Look under the leaves and along the stems for any signs of pests. Common culprits include aphids, spider mites, and whiteflies.
If you do spot pests, don’t immediately reach for harsh chemicals. Many herbs are sensitive, and natural remedies can be very effective. A simple spray made from water and a small amount of mild dish soap can deter many types of pests. Neem oil works against various pests.
Not all insects are bad. Ladybugs, for instance, are natural predators of aphids. Encouraging beneficial insects can help keep the pest population in check. Planting flowers like marigolds or calendula can attract these helpful critters.
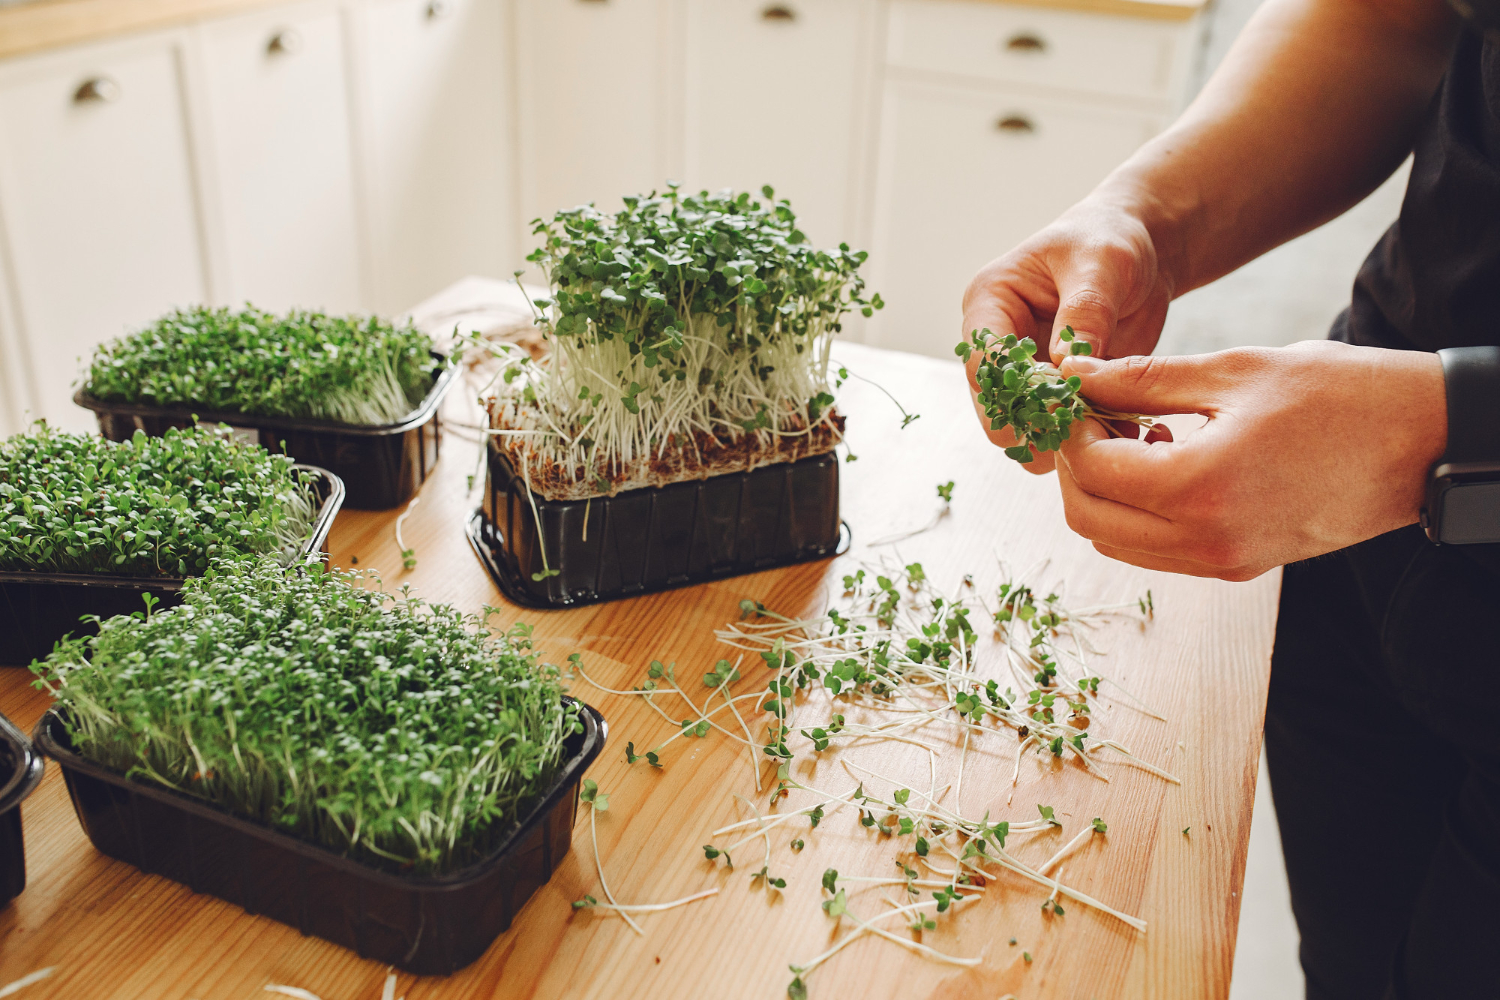
10. Harvest Regularly
Harvesting encourages bushier growth and prevents your herbs from becoming leggy or sparse.
- Timing: Start harvesting when your plant is about 6 inches tall or has at least three sets of leaves. You’ll encourage them to start branching out.
- Method: Use sharp, clean scissors or pruning shears. Cut right above a leaf stem (the place on the stem where leaves sprout), as this is the place where new growth will sprout. Do not cut more than one-third of the plant at a time.
- Prune regularly: Regular harvesting is better than waiting for the plant to become overgrown. Pluck flower buds as they form on basil to keep the plant focused on growing leaves rather than flowers and seeds.
Top 10 Herbs to Grow at Home
Each herb brings a unique flavor and personality to your garden and kitchen. With some care and love, they’ll thrive and make your dishes even more delicious.
| Herb | Uses in Dishes | Conditions and Care |
| Parsley | Salads, soups, sauces | Sunny spot; regular watering |
| Basil | Italian cuisine | Sunny conditions; plenty of water; sensitive to cold |
| Oregano | Greek and Italian dishes | Prefers dryness; full sun; avoid overwatering |
| Rosemary | Grilling, roasting | Loves sun; tolerates dry, well-drained soil |
| Thyme | Soups, stews, marinades | Well-drained soil; some sunshine; minimal care |
| Mint | Teas, desserts, salads | Plenty of water and shade |
| Dill | Fish dishes, salads | Sunlight; regular watering (do not overwater) |
| Chives | Salads, garnishes | Moist soil; tolerates partial shade |
| Sage | Meat dishes | Well-drained soil; enjoys sun |
| Estragon | French cuisine | Well-drained soil; moderate watering |
How to Preserve Your Herbs
Each herb preservation method helps extend the life of your herbs:
- Drying: Hang herb bundles upside down in a dry, warm, and adequately ventilated location away from direct sunlight. Once they are dry, crush the leaves and store them in airtight containers. Use a low-temperature oven or a dehydrator to dry herbs quickly.
- Freezing: Freeze the herbs in ice cube trays with water or olive oil.
- Make herb butter: Add finely chopped herbs to softened butter, then roll into a log using parchment paper and refrigerate or freeze.
- Make herb oils: Infuse olive oil with herbs for a delicious kitchen staple.
- Make herb vinegar: Steep herbs in vinegar for a few weeks to impart their flavors.
- Store in salt: Layer herbs with salt in an airtight container. The salt preserves the herbs and can be a flavorful addition to dishes.
Which Herbs Will You Grow?
Growing herbs at home is simple, useful, and rewarding. You will beautify your windowsill or garden, always have fresh herbs to spice up your dishes, save money, and feel satisfaction watching something you planted grow. So, why not give it a try? Choose some of your favorite herbs, find a sunny spot, and start your herb garden today.