Creating your own compost bin is a rewarding and eco-friendly project that can save you money and benefit your garden. Whether you have a sprawling backyard or a cozy urban garden, there’s a DIY compost bin solution for you. In this blog post, we’ll guide you through building different types of compost bins using affordable materials.
Why Build Your Own Compost Bin?
Building your own compost bin has several advantages:
- Cost-Effective: DIY bins are cheaper than store-bought options.
- Customization: Tailor the bin to fit your space and composting needs.
- Sustainability: Reuse and recycle materials, reducing waste.
Types of DIY Compost Bins
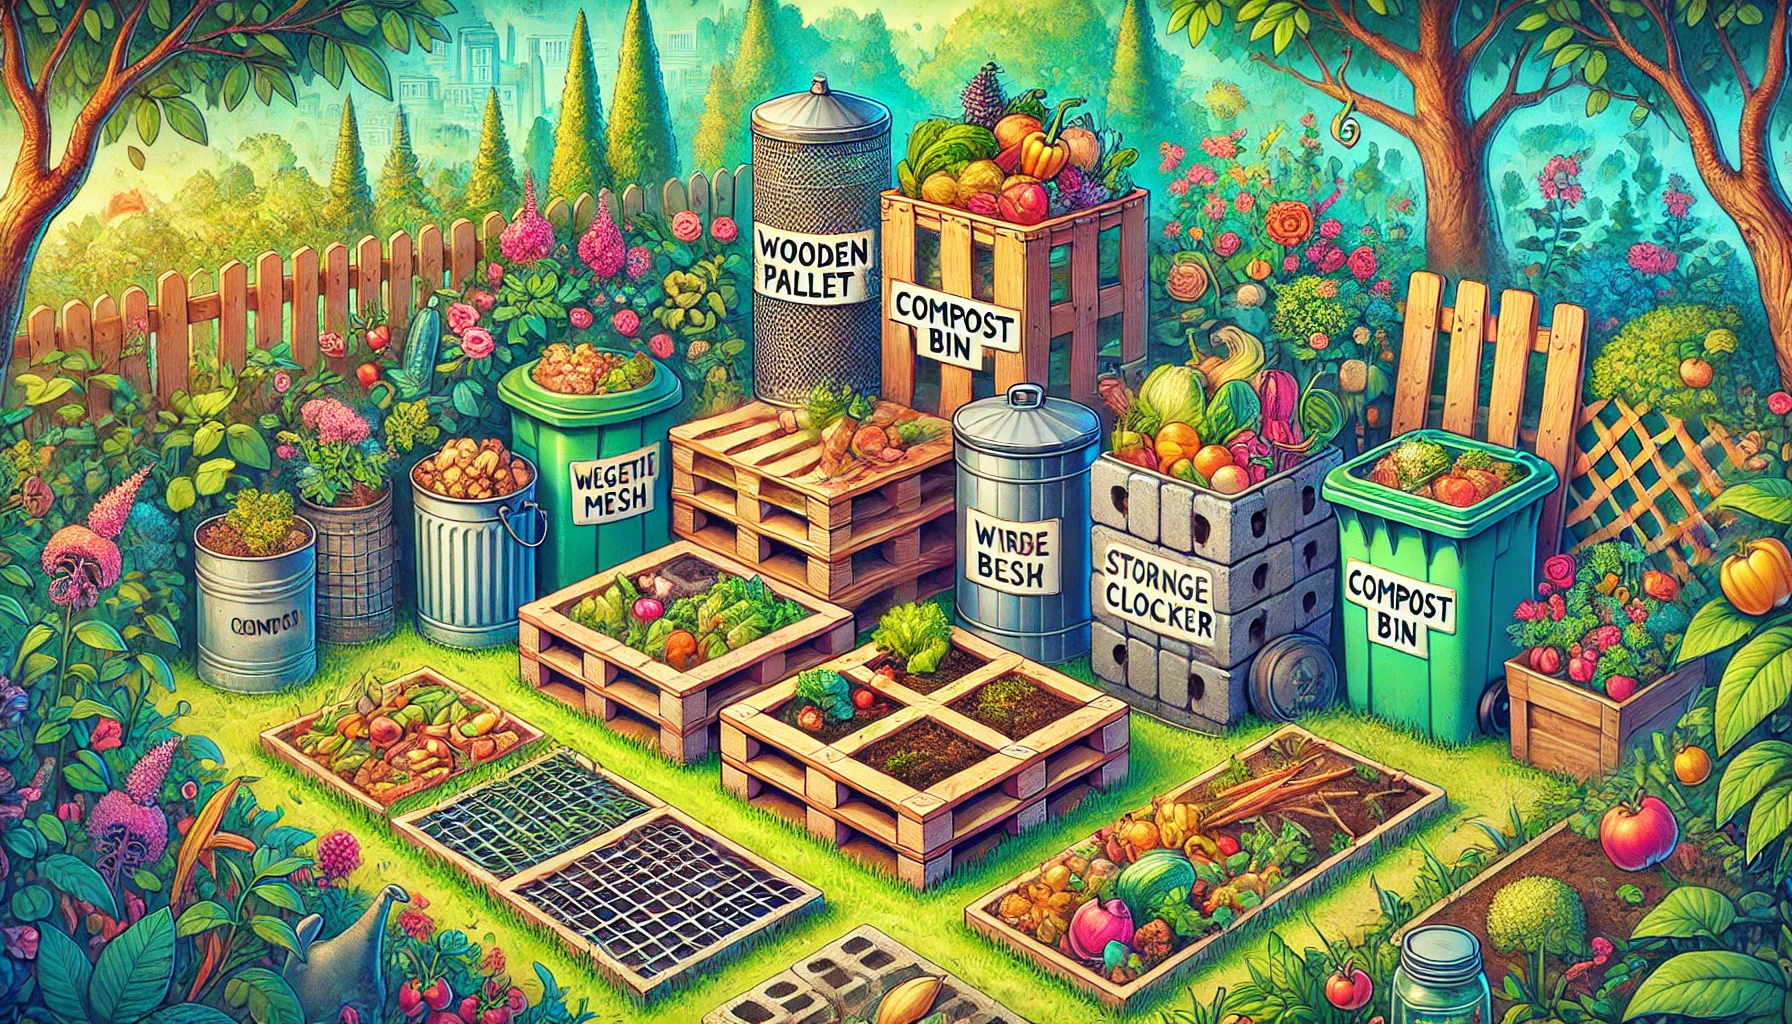
- Wooden Pallet Compost Bin
- Wire Mesh Compost Bin
- Plastic Storage Container Bin
- Cinder Block Compost Bin
- Trash Can Compost Bin
Let’s dive into the step-by-step instructions for each type.
1. Wooden Pallet Compost Bin
Materials Needed:
- 4 wooden pallets
- Heavy-duty zip ties or screws
- Hammer and nails or a power drill
Instructions:
- Choose a Location: Pick a flat, well-drained area in your garden.
- Assemble the Frame: Stand the pallets on their edges to form a square or rectangle.
- Secure the Pallets: Use zip ties, screws, or nails to attach the pallets together at the corners.
- Optional Lid: Use another pallet or a piece of wood as a lid to keep critters out.
Benefits:
- Durable: Wooden pallets are sturdy and long-lasting.
- Recycled Materials: Pallets are often available for free from local businesses.
2. Wire Mesh Compost Bin
Materials Needed:
- Roll of wire mesh (hardware cloth)
- Wire cutters
- Zip ties or wire
Instructions:
- Cut the Mesh: Measure and cut a length of wire mesh to create a cylinder.
- Form the Cylinder: Roll the mesh into a cylinder shape.
- Secure the Ends: Use zip ties or wire to attach the ends of the mesh together.
- Position the Bin: Place the bin in your chosen location and start adding compost materials.
Benefits:
- Aeration: Wire mesh allows for excellent airflow.
- Flexibility: Easy to move and adjust the size.
3. Plastic Storage Container Bin
Materials Needed:
- Large plastic storage container with a lid
- Drill
- Small rocks or gravel
Instructions:
- Drill Holes: Drill several holes in the bottom and sides of the container for drainage and airflow.
- Add Rocks: Place a layer of rocks or gravel at the bottom for drainage.
- Fill the Bin: Add your compost materials, alternating green and brown layers.
- Secure the Lid: Place the lid on the container to keep pests out.
Benefits:
- Compact: Ideal for small spaces or indoor use.
- Portable: Easy to move around as needed.
4. Cinder Block Compost Bin
Materials Needed:
- Cinder blocks
- Garden soil or stakes (optional)
Instructions:
- Choose a Location: Find a flat area in your garden.
- Arrange the Blocks: Stack the cinder blocks to form a square or rectangular bin, leaving gaps between blocks for airflow.
- Secure the Structure: Use soil or stakes to stabilize the blocks if needed.
- Start Composting: Add your compost materials to the bin.
Benefits:
- Sturdy: Cinder blocks are heavy and durable.
- Customizable: Easy to adjust the size and shape.
5. Trash Can Compost Bin
Materials Needed:
- Large plastic trash can with a lid
- Drill
- Bungee cords (optional)
Instructions:
- Drill Holes: Drill several holes in the bottom and sides of the trash can for drainage and airflow.
- Place the Can: Position the trash can in a convenient location.
- Fill the Can: Add your compost materials, alternating green and brown layers.
- Secure the Lid: Use bungee cords to secure the lid if needed.
Benefits:
- Inexpensive: Trash cans are affordable and widely available.
- Portable: Easy to move around your garden.
Having your own compost bin has never been simpler
Building your own compost bin is a simple, cost-effective way to compost and reap the benefits of rich, homemade fertilizer. Choose the bin type that best fits your space and needs, and enjoy the satisfaction of turning waste into garden gold. Happy composting!
If you have questions, leave a comment on or contact me directly. Let’s grow greener together!