From picking seedlings, containers, and soil mix to pest control, discover how to grow vegetables indoors, in any space.
Ever thought about growing your vegetables but felt stuck because you don’t have a big garden?
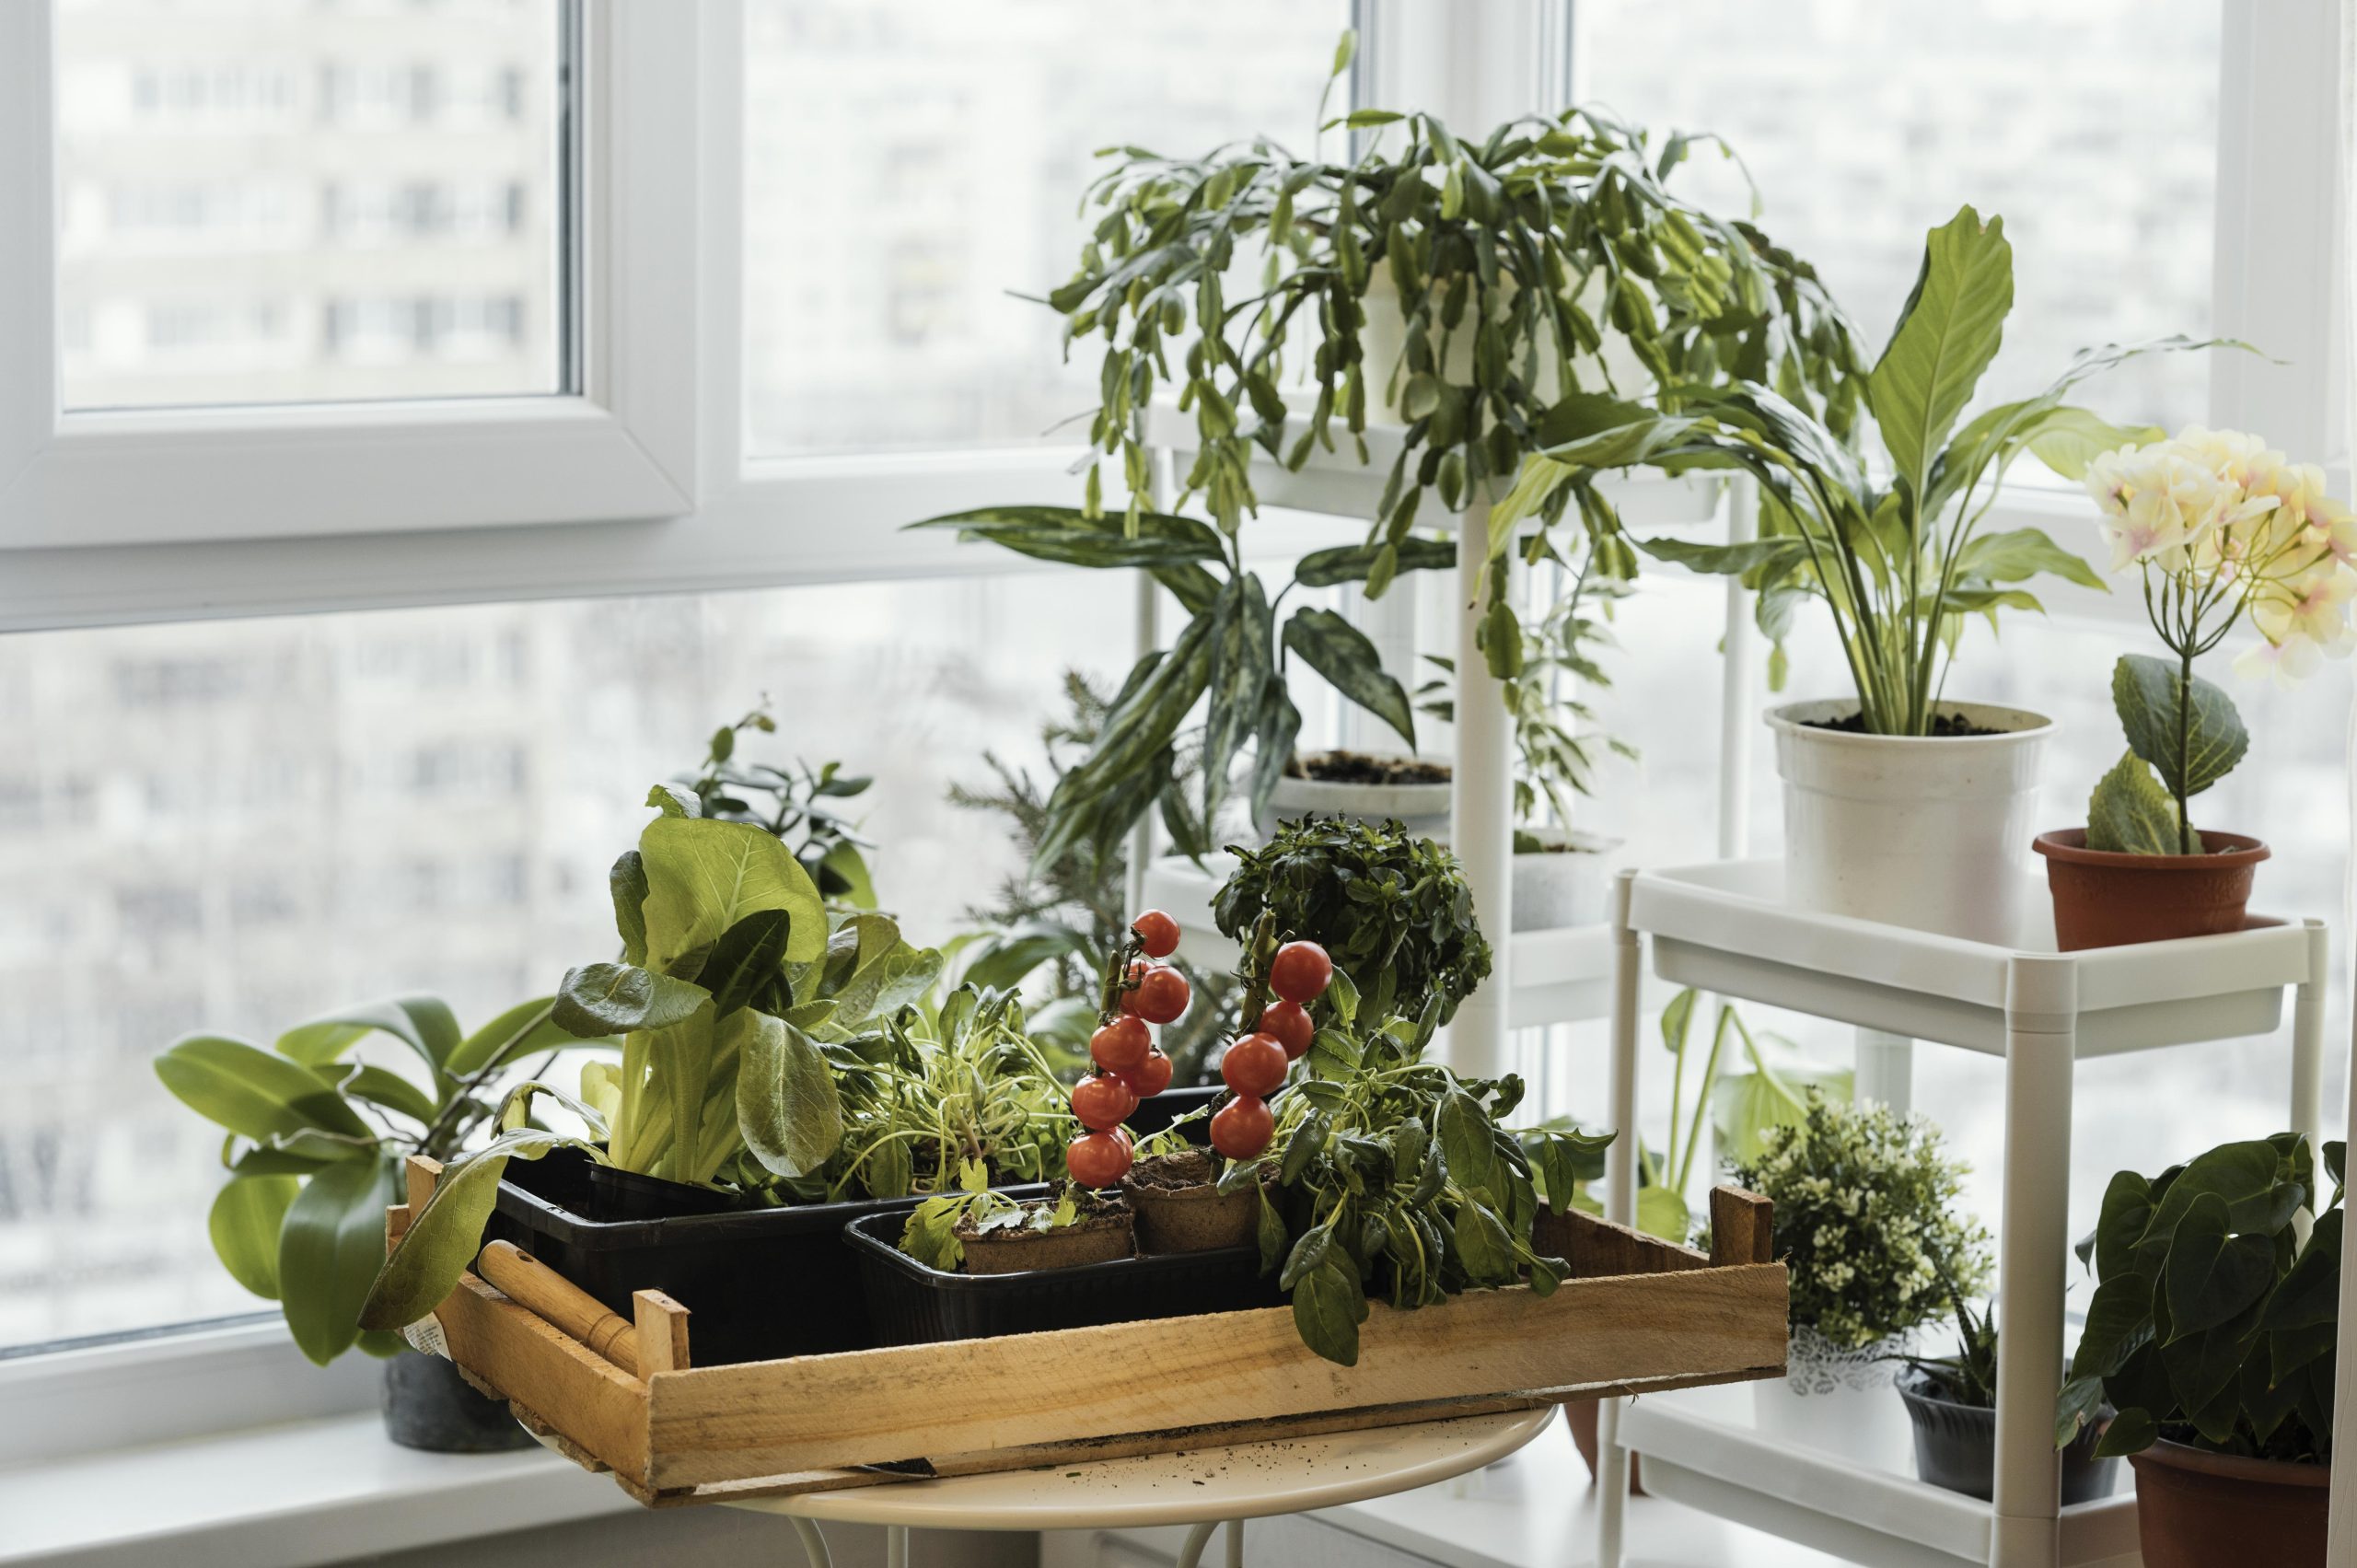
Well, the good news is that you can grow them right inside your home. Think about it – your mini farm in your living room or kitchen. Fresh, plump tomatoes, crispy lettuce, and aromatic herbs would be just an arm’s reach away while you cook. We’ll share exactly how you can do it.
What’s special about indoor vegetable gardening?
Indoor vegetable gardening is all about growing your favorite veggies inside your home. It’s a great way to garden, especially if outdoor space is limited or the weather is unpredictable.
You control the environment with indoor gardening: temperature, light, and water. It’s gardening on your terms, in your space, whether a sunny windowsill or a corner in your living room.
Advantages of indoor gardening include:
- Year-round harvest: With indoor gardening, you’re not bound by seasons. Whether it’s snowing or scorching outside, your plants will keep giving, so you’ll have favorite veggies all year round. Fresh salads in December? Absolutely!
- Controlled environment: Indoors, you won’t have to worry about sudden frosts or heatwaves. You can also say goodbye to most pests that plague outdoor gardens. Control leads to healthier plants and, often, better yields.
- Reducing food miles: Every tomato or pepper you grow at home is one less that needs to be trucked to your supermarket. Therefore, you’re directly lowering a carbon footprint. Indoor gardening is a small but powerful step towards a more sustainable lifestyle.
- Reducing waste: Compost your kitchen scraps and use them in your indoor garden. You’ll enrich your plants and reduce waste.
- Better air quality: Plants naturally clean the air. By growing vegetables indoors, you’re cultivating natural air filters. They help reduce pollutants and increase oxygen levels, making your home’s air cleaner and fresher.
- Aesthetic appeal: Indoor gardens are beautiful. They add life, color, and a touch of nature to your home décor. Whether it’s a lush herb garden in your kitchen or leafy greens in your living area, these plants enhance the ambiance of your home.
- Stress relief: Indoor gardening is a stress reliever. Tending to your plants can be a calming, meditative activity, reducing stress and improving mental well-being.
- A chance to learn: An indoor garden becomes a living classroom for families with kids. You can teach children about biology, ecology, and the importance of caring for the environment. Kids are more likely to eat veggies they’ve helped grow – a win-win for health and education!
How to set up your indoor garden
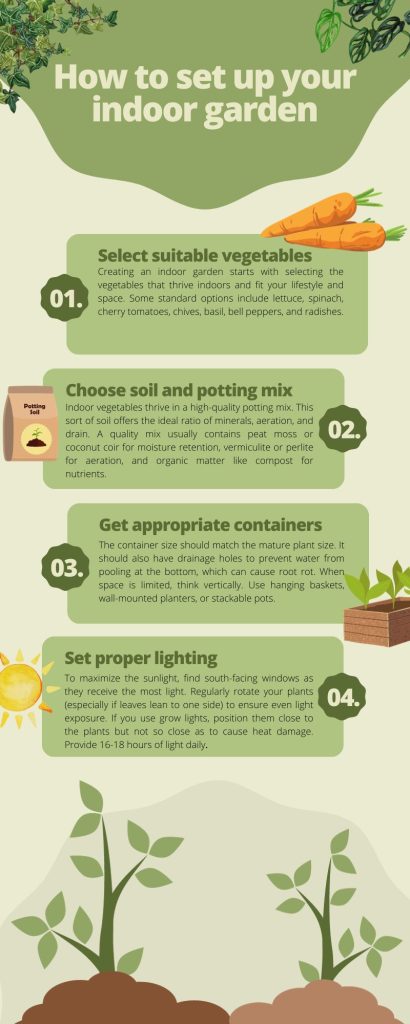
Step 1: Select suitable vegetables
Creating an indoor garden starts with selecting the vegetables that thrive indoors and fit your lifestyle and space. Different vegetables have varied needs regarding sunlight, watering, and care. Here are some of the most common options for in-house cultivation:
| Vegetable | Sunlight Needs | Watering Frequency | Other Requirements | |
| 1 | Lettuce | Moderate (3-4 hours) | Regular | Humidity; well-draining soil |
| 2 | Spinach | Low to Moderate | Regular(once in 2-3 days) | Cooler temperatures; moist soil |
| 3 | Cherry Tomatoes | Bright (5-6 hours) | Regular | Support for vines; well-draining soil |
| 4 | Basil | Bright (4-5 hours) | Moderate(once in 4-5 days) | Well-draining soil; pinch off flowers |
| 5 | Bell Pepper | Bright (5-6 hours) | Regular | Well-draining soil; support for stems |
| 6 | Chives | Moderate | Moderate | Well-draining soil; regular trimming |
| 7 | Carrots | Moderate | Regular | Deep containers; loose soil |
| 8 | Radishes | Moderate | Regular | Loose, well-draining soil; quick harvest |
| 9 | Green Onions | Moderate | Regular | Well-draining soil; can regrow from scraps |
| 10 | Cilantro | Moderate | Moderate | Cooler temperatures; well-draining soil |
Step 2: Choose soil and potting mix
The soil you choose directly affects your vegetable growth. Here’s how to get it right:
- Buy high-quality potting mix: Indoor vegetables thrive in a high-quality potting mix. This sort of soil offers the ideal ratio of minerals, aeration, and drain. Because potting mix is sterile, it lowers the risk of soil-borne diseases and pests compared to conventional garden soil.
- Ingredients of a good potting mix: A quality mix usually contains peat moss or coconut coir for moisture retention, vermiculite or perlite for aeration, and organic matter like compost for nutrients. Some mixes also include slow-release fertilizers or moisture-control granules.
- Adjust your mix: Depending on your plants, you might need to tweak the potting mix. For instance, herbs prefer a mix with more drainage, so add extra perlite or sand. On the other hand, leafy greens might benefit from extra compost for nutrients.
- Avoid garden soil: Using soil from your outdoor garden can be tempting, but this can bring pests and diseases indoors. Plus, garden soil often compacts in pots, choking the roots of your indoor plants.
- Refresh the soil occasionally: Over time, potting soil can become depleted of nutrients or compacted. Refresh or replace the soil in your containers yearly to ensure your plants have what they need to grow strong and healthy.
Step 3: Select appropriate containers
Selecting suitable containers involves balancing your plants’ needs with your indoor space. Let’s see some basic considerations:
- Size matters: The container size should match the mature plant size. Small herbs like basil can do well in smaller pots, but larger vegetables like tomatoes need bigger containers to accommodate their root systems. A general rule of thumb is to choose a pot at least 6 to 12 inches deep for most vegetables.
- Drainage: Ensure your containers have drainage holes. They prevent water from pooling at the bottom, which can cause root rot. If your favorite pot doesn’t have holes, you can drill some yourself.
- Materials: Containers come in plastic, terracotta, or metal. Each material has its pros and cons:
- Plastic pots are lightweight and retain moisture well but can deteriorate over time.
- Terracotta pots are porous, which allows for better air circulation to the roots, but they dry out more quickly.
- Metal pots can look stylish but may heat up rapidly, potentially harming the roots.
When space is limited, think vertically. Use hanging baskets, wall-mounted planters, or stackable pots. Vertical gardening is not just a space-saver but adds an aesthetic element to your indoor garden.
If you plan to move your plants around (for example, to catch more sunlight), consider containers with casters. You’ll quickly move heavy pots and protect your floors and your back.
Step 4: Learn about different planting techniques
You have two primary methods when planting your veggies: starting from seeds or using transplants. Understanding them can help you decide which is best for your garden.
| Aspect | Seed starting | Transplants | |
| 1 | Cost | Less expensive | More expensive |
| 2 | Variety | A wider selection of plant types | Limited to available stock |
| 3 | Time to harvest | Longer wait for harvest | Quicker to harvest |
| 4 | Skill level | Requires more care and patience | Easier, more beginner-friendly |
| 5 | Satisfaction | High (watching from seed to plant) | Immediate (instant greenery) |
Steps for seed starting:
- Select quality seeds suited for indoor growing and check their expiry dates.
- Use seed trays or small pots with a quality seed starting mix.
- Follow seed packet guidelines for planting depth and spacing.
- Place in a warm spot with adequate light. If you don’t have enough natural light, use grow lights.
- Water gently to keep the soil moist but not too wet.
Steps for using transplants:
- Look for sturdy, green, and pests-free transplants.
- Gradually introduce them to the indoor environment.
- Use pots larger than the transplant’s current container, with good drainage.
- Gently take out the plant from its original container, place it in the new pot, and fill it with potting mix.
- Water thoroughly and place in a suitable location according to the plant’s light requirements.
Step 5: Set proper lighting
Lighting is a critical factor in the health and growth of indoor vegetables. Understanding the difference between natural and grow lights can help you make the best choice for your garden.
Natural light
Sunlight provides a full spectrum of light, which is ideal for plant growth, and it’s free. However, you are dependent on the weather and seasons. Levels of natural light can vary throughout the day and year, and some areas of your home may not receive adequate sunlight.
To maximize the sunlight, find south-facing windows as they receive the most light. Regularly rotate your plants (especially if leaves lean to one side) to ensure even light exposure. Place reflective materials like aluminum foil or mirrors to bounce light onto your plants.
Grow light
With grow lights or growing lamps, you have complete control over the intensity and duration of light. They provide consistent light regardless of weather or season, so you can set up a garden anywhere, regardless of natural light availability.
On the downside, initial setup can be costly. Growing lights consume electricity and can increase your energy bill. Some produce heat, which may affect plant growth if not managed.
Choose the right type of light:
- LED lights are energy-efficient (and therefore cost-effective) and produce less heat. Fluorescent lights are also a good option for leafy greens and herbs.
- Position the lights close to the plants but not so close as to cause heat damage.
- Provide 16-18 hours of light daily, depending on the plant’s needs.
Step 6: Watering and drainage
We mentioned watering needs in our table. Let’s elaborate on them:
Regular watering:
- “Regular” watering means keeping the soil moist but not soggy. You can water most indoor vegetables once every 2-3 days, depending on your home’s humidity, temperature, air circulation, soil type, and the plant’s specific needs.
- Check the top inch of the soil before you water the plants. If it feels dry to the touch, it’s time to water. If it’s still moist, you can wait a bit longer.
- Over-watering can be as harmful as under-watering. Excessive water can cause root rot, while too little water can stress the plant, stunting its growth or causing it to wilt.
Moderate watering:
- The approach is a bit more relaxed for plants that require “moderate” watering. They like to have a bit of dry spell between waterings. Water these plants once every 4-5 days, depending on the environment.
- The same rule of checking the soil applies. If the top inch is dry, it’s time to water. This allows the roots to get the needed air and encourages healthy growth. It’s always best to observe your plants and adjust your watering routine to suit their needs.
Use a saucer or tray under your pots to catch any excess water. You’ll prevent mess and protect your floors and furniture. Be sure to empty these trays regularly to prevent your plants from sitting in water.
Step 7: Find the right position for your plants
Vegetables and herbs need plenty of light, so place them in the brightest part of your home. South-facing windows are ideal as they receive the most sunlight throughout the day. If such a spot isn’t available, east or west-facing windows can be good alternatives. In cases where natural light is insufficient, consider supplementing with grow lights.
However, too much direct sunlight can damage plants, especially during the hot summer. To avoid scorching your plants, use sheer curtains to diffuse intense sunlight or move the plants slightly away from the window. Some plants may thrive in these somewhat less bright areas.
Plants also need good air circulation to prevent the growth of fungi and pests. Don’t cram your plants too close; give them enough breathing space. This also makes it easier for you to water them and monitor their health.
Rearrange your plants as seasons change. The angle of sunlight varies throughout the year, so a spot that’s perfect in summer might not be suitable in winter. Observing your plants and adjusting their positions will ensure they always have the best growth conditions.
How to care for your indoor garden
Proper nurturing and maintenance are key to a thriving indoor vegetable garden. Let’s explore the essential aspects of nutrient management, pest control, and regular monitoring.
Nutrient requirements
Different plants have different nutrient needs. Leafy greens, for instance, require more nitrogen, while flowering and fruiting plants like tomatoes need more phosphorus and potassium.
A balanced, water-soluble fertilizer is usually a good choice. You can also opt for organic options like fish emulsion or compost tea. Overfertilizing can damage your plants, so do not exaggerate, but follow the instructions on the product label.
Pest control
The best pest control is prevention. Keep your garden clean, remove dead leaves, and ensure good air circulation. Quarantine new plants for a few days before introducing them to your garden to prevent the spread of pests.
Common indoor pests include aphids, spider mites, and fungus gnats. Use non-toxic treatments like neem oil, insecticidal soaps, or homemade solutions like diluted dish soap if they appear. Treat plants promptly to prevent infestations.
Introducing beneficial insects like ladybugs can help control pests naturally. These predators do not harm your plants but can effectively reduce pest populations.
Regular monitoring
Take a few minutes each day to observe your plants. Look for signs of stress, such as wilting, yellowing, or browning leaves.
Adjust your care routine as your plants grow. What works at the seedling stage may not be suitable for a mature plant. Regularly assess your plants’ light, water, and nutrient needs to ensure they remain healthy and productive.
Harvesting the fruits of your labor
Each vegetable has its signs of readiness:
- Look for full, mature leaves for leafy greens like lettuce and spinach.
- Harvest herbs before flowering for the best flavor.
- For fruiting plants like tomatoes and peppers, wait until they reach their full color and are slightly soft to the touch.
As your vegetables are near their typical harvest time, check them regularly. Many vegetables can go from ripe to overripe quickly. Timely harvesting ensures the best quality and encourages the plants to produce more.
When harvesting, be gentle to avoid damaging the plant. Use clean and sharp scissors (sterilized, preferably) or pruning shears for a clean cut.
- Harvest the outer leaves first for leafy greens, leaving the inner leaves to continue growing. This way, the plant remains productive over a longer period.
- For tomatoes, peppers, and similar plants, support the stem with one hand while you snip or gently twist off the fruit with the other. This prevents undue stress on the plant.
- Harvest herbs by snipping off the top third of the branches. The plant will put out more leaves and grow bushier.
Two common challenges of building a garden indoors
Even the most carefully tended indoor gardens can face challenges. Understanding how to manage diseases and overcome growth issues is crucial for maintaining a healthy garden.
Disease management
The best strategy against disease is prevention. Ensure good air circulation, avoid over-watering, and keep your garden clean. Regularly inspect your plants for discolored leaves, spots, or mold. They can get fungal diseases like powdery mildew or root rot, often resulting from too much moisture or poor air circulation.
At the first sign of disease, isolate the affected plant to prevent spread. Remove diseased parts and dispose of them properly. For fungal issues, treatments include fungicides or homemade solutions like a baking soda and water mixture.
Overcoming growth challenges
- Leggy plants: Legginess occurs when a plant stretches towards a light source, resulting in weak, elongated stems. It is often a sign of insufficient light. Move your plant closer to a light source or supplement with grow lights to remedy this issue. Regularly rotating your plants can also ensure even growth.
- Stunted growth: If your plants are not thriving as expected, it could be due to inadequate nutrients, improper lighting, or root-bound conditions. Ensure you’re using the correct type of fertilizer and providing enough light. Consider repotting into a larger container if the roots have outgrown the pot.
Start your indoor garden today
Pick your plants, prepare your space, and tend to your garden. Each leaf and fruit you grow shows your hard work and passion. Don’t hesitate – begin your gardening journey now and experience the delight of picking your vegetables. The adventure is just a seed away!